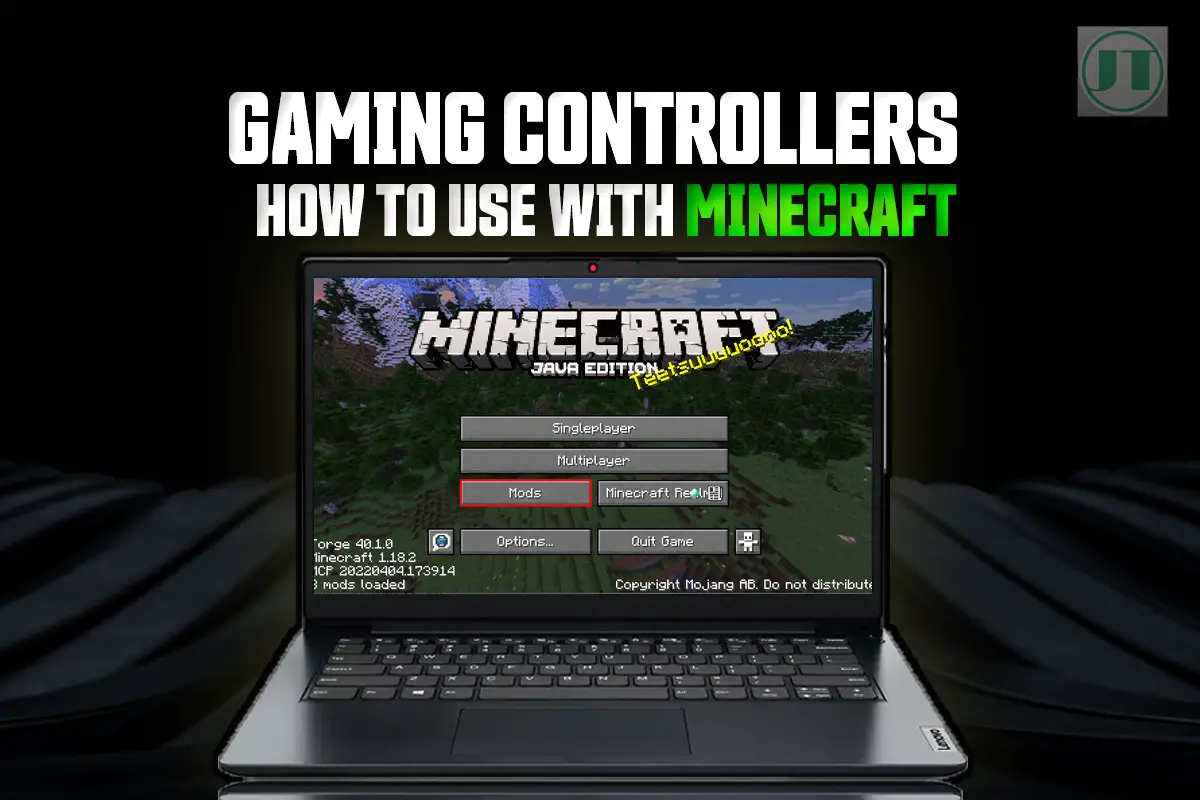
If you want to learn how to use a controller on Minecraft Java, you are in the right place. After many years of gaming experience I have come to learn how gaming controllers can offer a whole new level of gameplay experience in Minecraft. They provide comfort and ease of use, allowing you to easily navigate through those blocky landscapes.
In this guide, I will show you how to connect a controller, from configuring the necessary controller settings to installing the latest drivers. So, get ready to enhance your gaming experience and dive into the world of Minecraft like never before.
How to Connect a Controller to Minecraft PC
Connecting a controller to your laptop or gaming PC is a breeze. Before you get started, make sure that your controller is compatible with your device. Once you’ve confirmed compatibility, you can choose between using Bluetooth or a USB connection method.
Follow these step-by-step instructions to successfully connect your controller and start playing Minecraft with ease.
Using Bluetooth Connection Method
If your controller supports Bluetooth connectivity, follow these steps:
- Turn on Bluetooth on both your PC and the controller.
- Put the controller in pairing mode by following the manufacturer’s instructions.
- On your PC, go to Settings > Devices > Bluetooth & other devices.
- Click on “Add Bluetooth or other device.”
- Select “Bluetooth” from the options presented.
- Your PC will search for available devices; select your controller from the list.
- Follow any additional prompts or instructions provided by Windows.
Using USB Connection Method
If you prefer using a wired connection or if your gaming controller does not support Bluetooth, you can connect the device via USB:
- Plug one end of the USB cable into an available USB port on your computer.
- Connect the other end of the cable to the corresponding port on your controller.
- Wait for Windows to recognize and install any necessary drivers for the device.
- Once recognized, Windows will notify you that it has successfully connected.
Additional Connection Tips
- If you encounter any issues during the connection process, try restarting both your laptop or PC and the controller before attempting again.
- Ensure your controller is fully charged or connected to a power source
- Keep in mind that some controllers may require specific software or drivers for full functionality. Check the manufacturer’s website for any necessary downloads.
Connecting and using a controller with your Minecraft laptop is a simple process. But done right, can greatly enhance your Minecraft gaming experience. Whether you choose Bluetooth or USB, by following the steps above will have you playing Minecraft in no time.
Here is another helpful guide: How do you control Minecraft without a mouse, utilize your laptop’s keyboard and touchpad without using up extra ports.
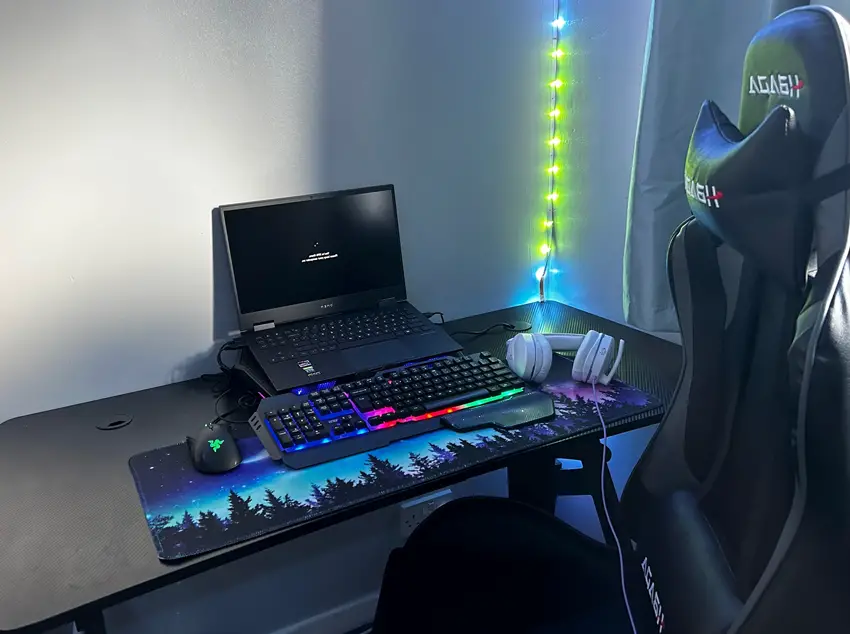
Adding Controller Support to Minecraft Java Edition
To enhance your gaming experience in Minecraft Java Edition, you can add controller support to navigate through the blocky world with ease. Follow these simple steps to enable controller functionality and enjoy seamless gameplay.
Enable controller support in the Minecraft Java
- Launch Minecraft Java Edition on your computer.
- Navigate to the “Options” menu from the main screen.
- Select “Controls” from the options menu.
- Scroll down until you find the “Controller Settings” section.
- Toggle the “Enable Controller” option to ON.
Enabling controller support in the Minecraft Java Edition settings is the first step towards using a controller for your blocky world gameplay. Once the setting is enabled, you can proceed to configure your controller for optimal performance.
Install necessary software or drivers
- Connect your controller to your PC via USB or Bluetooth.
- If using a wired Xbox or PlayStation controller, Windows will automatically install drivers.
- For other gaming controllers, visit the manufacturer’s website and download any required software or drivers specific to your model.
Installing the necessary software or drivers ensures that your controller functions properly with Minecraft Java Edition. By having the correct drivers installed, you’ll be able to take full advantage of all the features your specific gaming controller has to offer.
Configure button mappings
- Return to the “Controls” menu in Minecraft Java Edition.
- Click on each action listed and press the corresponding button on your controller.
- Customize button mappings according to your playstyle.
By mapping buttons, you can better tailor your gaming experience. Whether it’s assigning certain actions to specific buttons or adjusting sensitivity settings, customization is key.
Maximizing Your Controller with Steams Big Picture Mode
One of the best ways to enhance your gaming experience is by utilizing Steam’s Big Picture Mode. This feature-packed mode offers a range of additional features and customization options that can take your Minecraft controller gameplay to the next level.
By accessing Big Picture Mode on your Windows computer, you gain access to an extensive library of community-created profiles specifically designed for popular controllers. They have been fine-tuned to provide optimal control settings for including Minecraft.
How To Use Steam Big Picture Mode
- First, launch Steam on your computer. (Download Steam)
- Ensure your controller is connected to your computer and recognized by Steam. Most controllers, including Xbox and PlayStation controllers, work with Steam.
- Launch Steam in Big Picture Mode: By clicking on the “Big Picture” icon.
- Use your controller or mouse to navigate through your game library. Find Minecraft in your list of games. Or add Minecraft as a non steam game.
- Next, highlight Minecraft using your controller and press the “Manage Game” button (usually the cog/gear icon). From the menu, select “Controller Configuration.” This will allow you to configure your controller specifically for Minecraft.
- Steam provides pre-configured controller layouts for various games, including Minecraft. You can choose a community-created configuration that suits you gameplay best.
- Finally, once your controller is configured, exit the configuration menu and launch Minecraft using your controller. The configured settings will be applied automatically.
- You should now be able to navigate menus and play Minecraft using your new controller. The controls will be mapped according to your configuration settings.
Enhancing Minecraft Gameplay with Mods
Now that you have successfully set up your brand-new gaming controller with Minecraft. Why not explore the exciting world of Modding in Minecraft? If you’re not familiar with the term, Modding refers to modifying the game by adding custom features, and items.
Mods are a fantastic way to personalize your Minecraft experience and add a whole new level of fun and creativity to your blocky gameplay. To start Modding in Minecraft, you first need to install a mod loader. A mod loader is a tool that helps manage and load mods into the game.
For Windows Laptops (Java Edition):
- Download and Install Minecraft Forge:
- Forge is a Modding API that many mods require. Visit the official Forge website and download the recommended version for your Minecraft version.
- Run the Forge installer and select “Install Client” when prompted.
- Find Mods:
- Go to a reputable Minecraft Modding website like CurseForge or Minecraft Forum.
- Browse mods by categories or search for specific ones you want.
- Download Mods:
- First ensure the mod is compatible with your Minecraft version.
- Then download the mod file. It’s usually a .jar or .zip file.
- Install Mods:
- Locate your Minecraft installation folder. It’s typically in the AppData folder on Windows. You can type
%appdata%in the Windows search bar to find it quicker. - Inside the Minecraft folder, find the
modsfolder. If it doesn’t exist, create one. - Move the downloaded mod file(s) into the
modsfolder.
- Locate your Minecraft installation folder. It’s typically in the AppData folder on Windows. You can type
- Launch Minecraft:
- Start the Minecraft launcher.
- In the launcher, make sure you’ve selected the Forge profile.
- Click “Play” to launch the game with your installed mods.
For Bedrock Edition (Windows 10, Xbox, PlayStation, Switch, Mobile):
- Access the Marketplace:
- For consoles and mobile devices, mods are typically called “add-ons” and can be found in the in-game Marketplace.
- Access the Marketplace from the main menu in Minecraft.
- Browse and Purchase Mods:
- Browse the available mods/add-ons.
- Purchase or download the ones you want.
- Some might be free, while others require payment.
- Enable Mods/Add-ons:
- Once you’ve acquired the mods/add-ons, they will be available in your game settings.
- Enable the ones you want to use in your world or server.
- Play the Game:
- Start a new world or join an existing one with the enabled mods/add-ons.
- Enjoy the modified gameplay experience.
Remember that the process of acquiring mods might differ based on updates and platform changes. In this case, it is always a good idea to refer to the official Minecraft website or the platform/storefront from which you’re accessing Minecraft for current information.
Utilize Steam’s Big Picture Mode for Easy Mod Management
Managing mods on the laptop version of Minecraft has never been easier thanks to Steam’s Big Picture Mode, a feature that allows you to navigate through your Steam game library and access various settings using a controller-friendly interface.
Steam’s Big Picture Mode is particularly useful if you prefer playing games from the comfort of your couch or if you want a more console-like experience. To access Big Picture Mode, simply open Steam and click on the “Big Picture” icon located at the top right corner of the screen.
Once in this mode, you can easily browse through your game library and install mods directly from the Steam Workshop. This streamlined process eliminates the need for manual mod installations and ensures that all your mods are up-to-date with just a few clicks.
Discover Mods with Optimized Controller Functionality
While Minecraft was originally designed for keyboard and mouse controls, many mods now offer optimized controller functionality. These mods enable seamless integration between Minecraft and various controllers such as Xbox or PlayStation controllers.
With controller support enabled, you can navigate through menus, build structures, fight mobs, and perform other actions more intuitively using a gamepad.
Some popular mods that enhance controller functionality include “Joypad Mod” and “Controller Support for Minecraft”. These mods provide extensive customization options, allowing you to map controller buttons to specific in-game actions. Whether you’re exploring caves or engaging in combat, using a controller can offer a more immersive and enjoyable gameplay experience.
Mastering How to Use a Controller On Minecraft?
You should now be well-equipped with the knowledge to master using a controller on Minecraft. By following our step-by-step guide, you have successfully connected your controller to Minecraft PC and added controller support to Minecraft Java Edition.
You’ve also explored tutorials and gameplay with a controller, maximized functionality with Steam’s Big Picture Mode, and learned about choosing the right controller for your needs.
Now it’s time to put all this newfound knowledge into action! Grab your favourite gaming controller, fire up Minecraft, and immerse yourself in a world of endless possibilities.
More Minecraft Guides:
